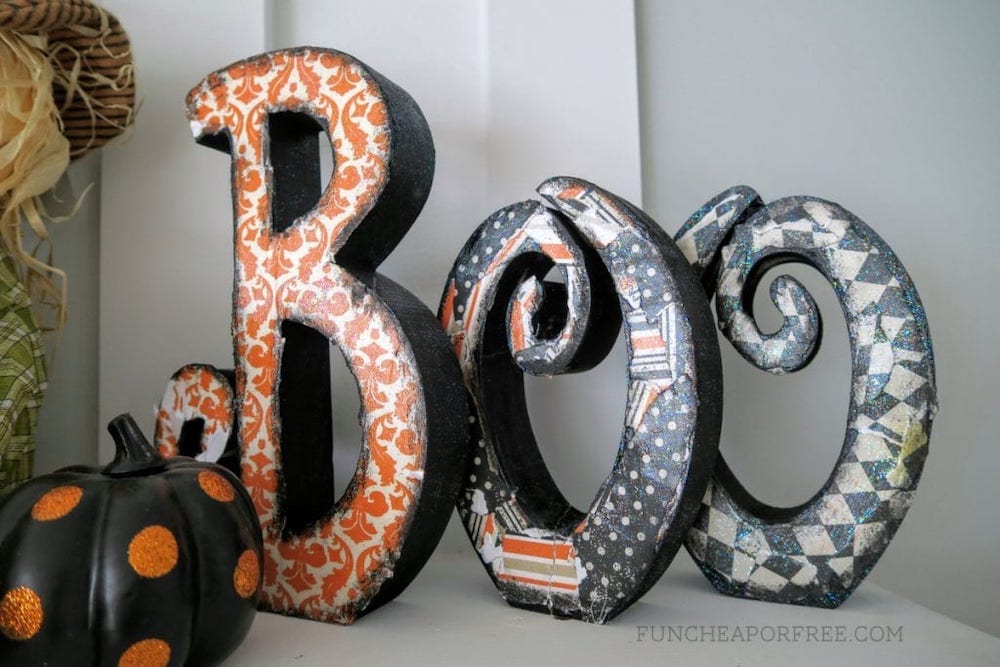
Today's project is a fun one. Let's be honest, I simply got the Halloween itch and had to do something about it! It's a very simple process and can be used for a number of projects. Here's what I did: Wooden Halloween “Boo”!
It's so easy and such a fun little project to show off! You could do this for any holiday, but Halloween will always be near and dear to my heart, so I went with it!
*Note: When you click the links in this post, we may receive a commission at no extra cost to you.
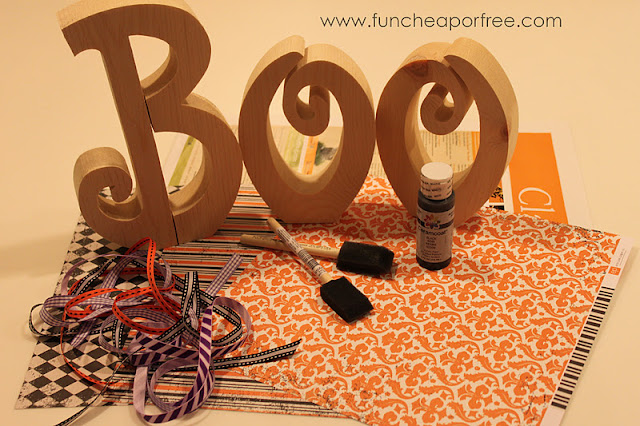
Here's what you need: (I purchased everything here in Utah at The Wood Connection craft store. That place is crafting heaven.)
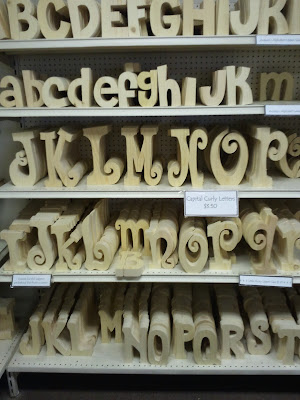
- Wooden letters
- Scrapbooking paper
- Mod Podge
- Mod Podge Sparkle (optional)
- Paint
- Ribbon
First I painted the letters black and let them dry.
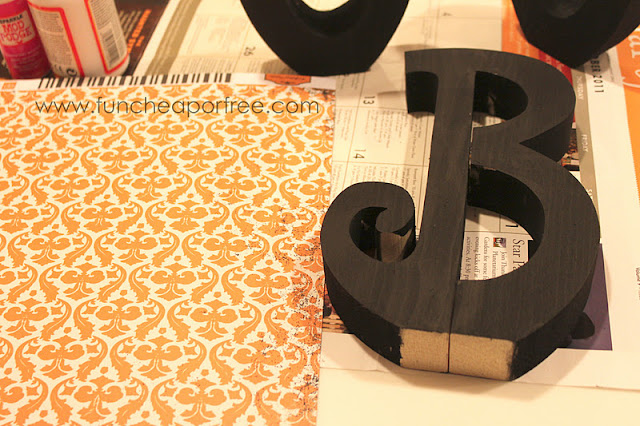
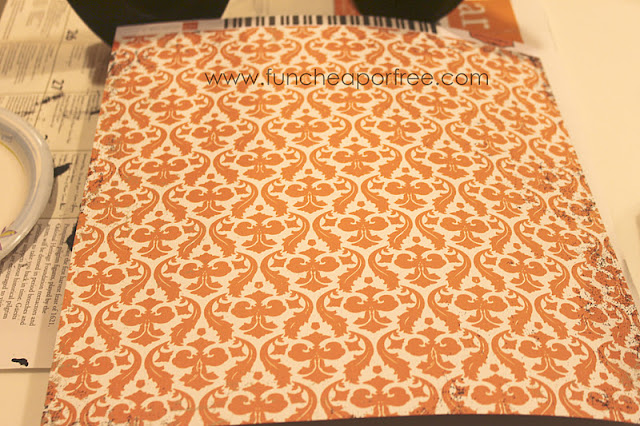
Next, I picked out the paper I wanted the B to be covered in. I laid it directly on top of the letter how I wanted it.
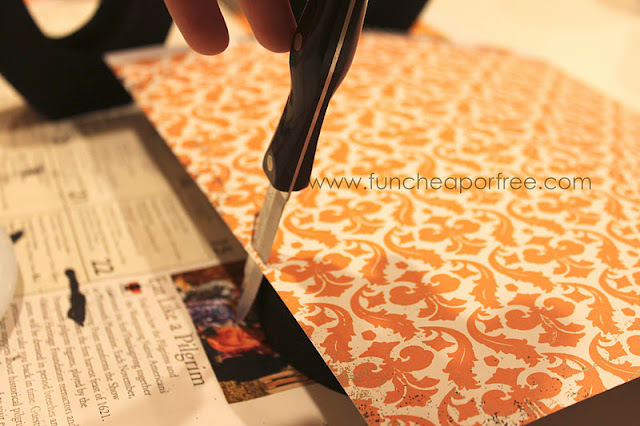
Then I traced the letter and cut the paper accordingly. I didn't have an exacto knife or razor, so I used a really sharp knife. Make sure your paper doesn't move at all! (A piece of tape in the center might help.)
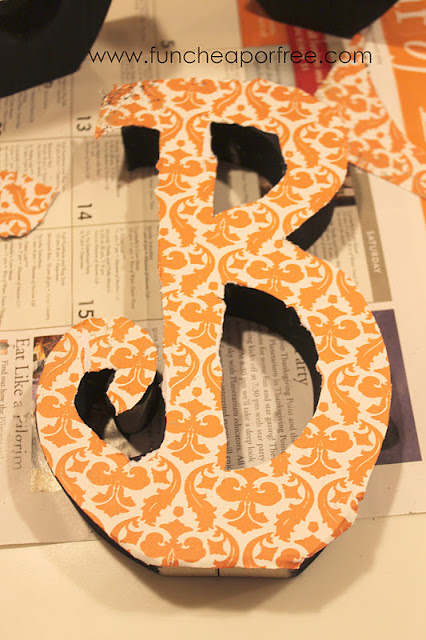
Here's what it looked like. The paper was just a hair larger than my letter.
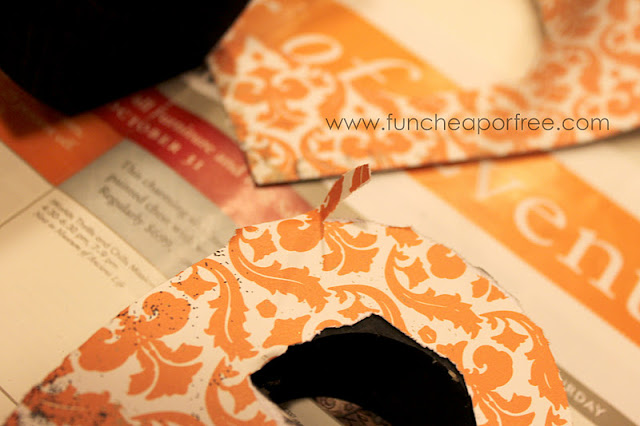
I trimmed up the paper by tearing it so the edges were shabby, and so it was the exact size or slightly smaller than my letter.
Next, get out the Mod Podge. I. LOVE. THIS. STUFF.
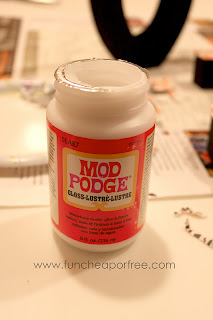
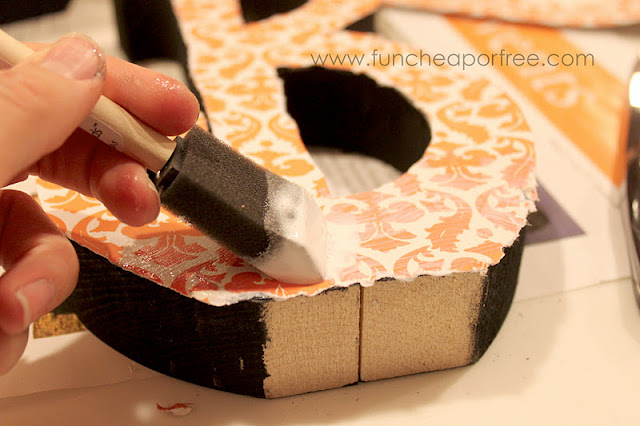
Put a good amount of Mod Podge on your letter first, then lay down your paper. There's no such thing as too much Mod Podge!

Put Mod Podge on top of the paper. Completely soak it!
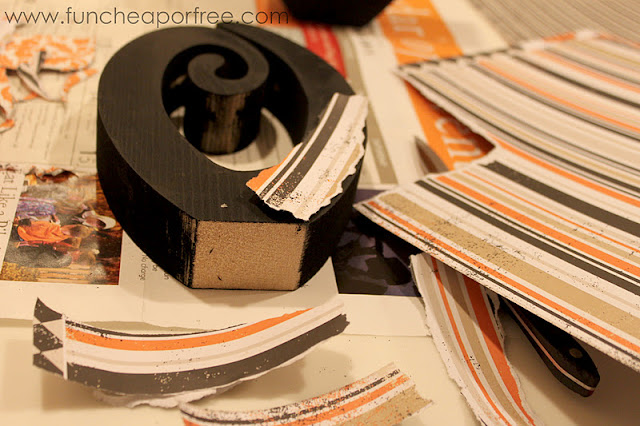
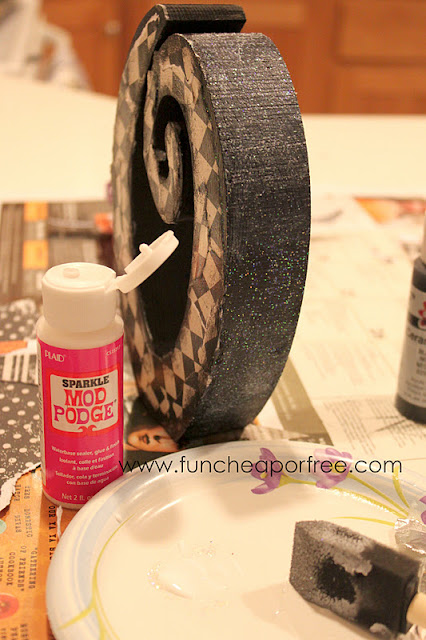
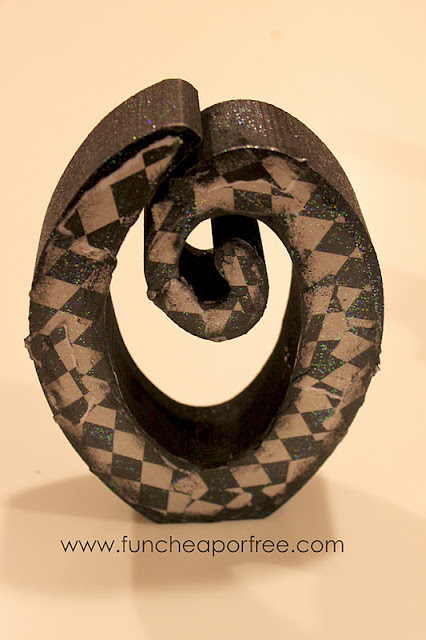
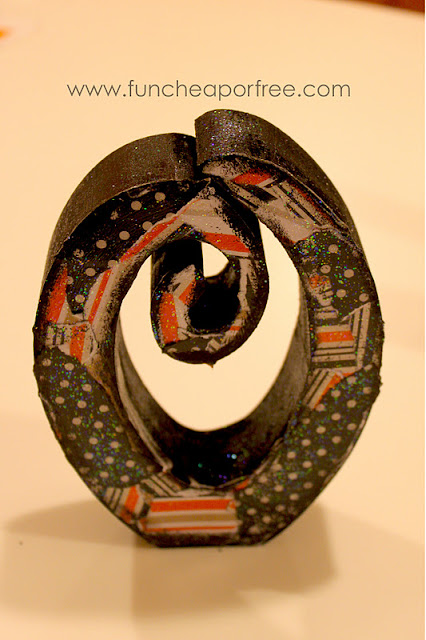
For the other two letters, I used the same Mod Podge technique. But instead of cutting one large piece of paper, I tore smaller pieces.
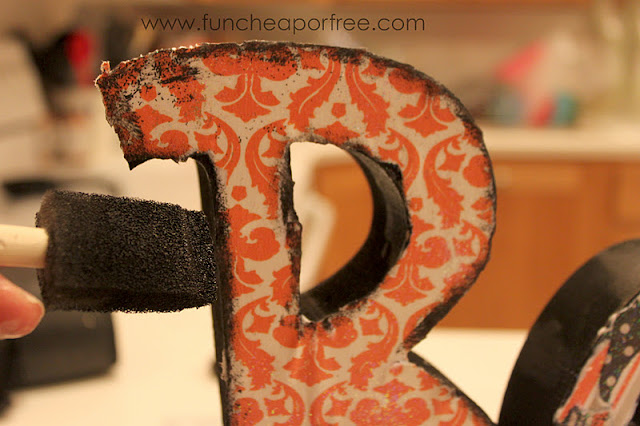
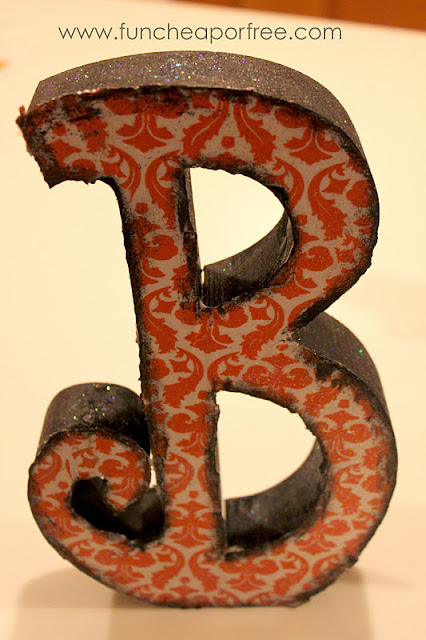
Let it all dry completely. To make the edges aged and shabby, I took a tiny blob of black paint, dabbed nearly everything off…
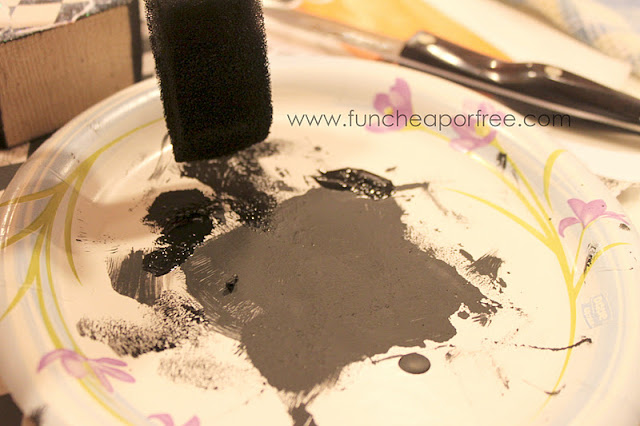
Then lightly sponged around the edges of the letter.
Cool effect, eh? I picked up some Mod Podge Sparkle and covered the entire letter, front, back, the whole she-bang. I wanted to protect the wood and paint but also wanted a “shabby sparkle” look. It turned out super cute because the Mod Podge dries completely clear…just left behind lots and lots of glitter!
And there you have it! You can tie a ribbon around the letters, add jewels or other embellishments, just have fun with it! I never could figure out how to do the ribbon so I haven't added any yet. This was just for the picture's sake.
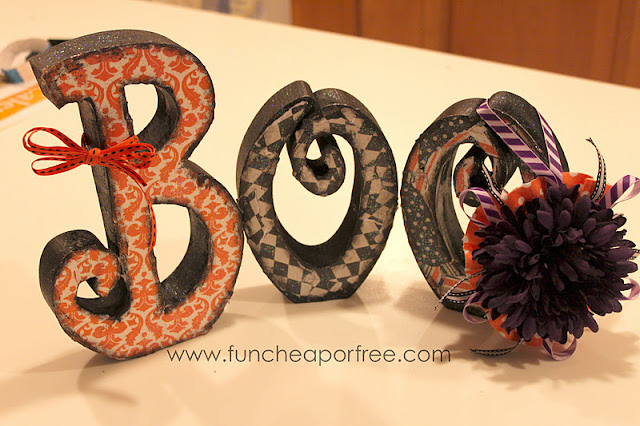
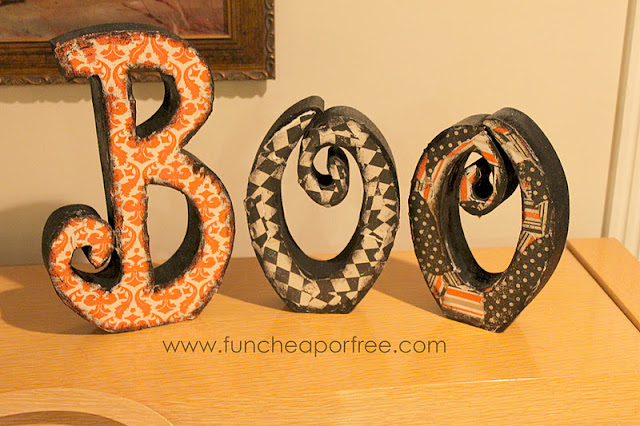
Pretty cute and fun, right?!
Looking for more fun Halloween ideas?
- Come learn how we do our easy homemade Halloween costumes, plus tips for finding them for cheap if you don't want to make them!
- Have fun putting together a Halloween party on the cheap!
- You don't have to break the bank on Halloween candy! We have some great tips on where to find the best deals on Halloween candy.
- Celebrate Halloween all month long with these fun Halloween party themes that are easy to do at home!
- Don't let that Halloween candy go to waste! We have 20 amazing ways to use leftover Halloween candy.
Happy Halloween!

0 Comments